How to create Monthly Access Levels
Customer administrator users are able to configure Access Levels with their chosen restriction type by simply assigning a code to a monthly parker’s profile.
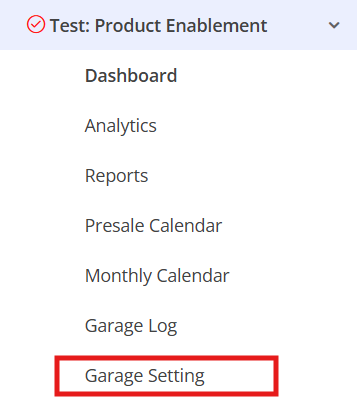
Head to the Parkonect Admin portal, select your location, and click Garage Setting.
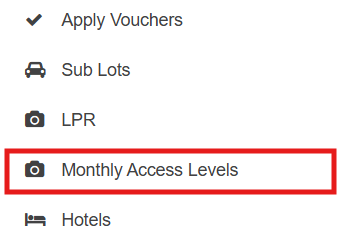
On the portal’s left side, click Monthly Access Levels under the Garage options.
The Monthly Access Levels page displays your existing access levels. From here, you can click Edit on the right to update any restriction or select Add Access Levels in the top-right corner to set up a new one.

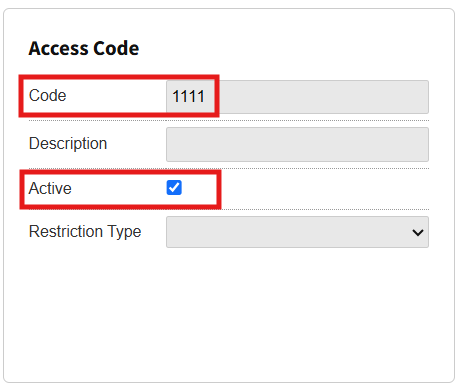
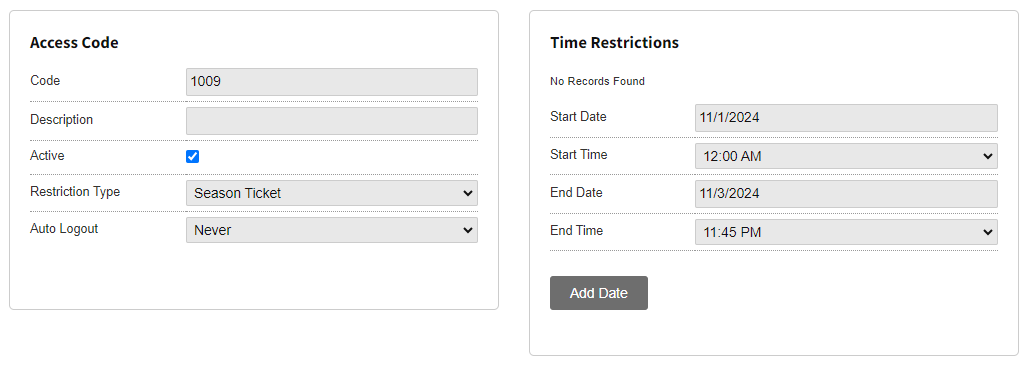
When creating a new Monthly Access Level, assign an Access Code to link monthly parkers. Adding a description is helpful, and check the Active box if it should go live right away.
Choose your restriction type and tweak the settings as needed. Once you're all set, hit Save Access Levels in the top-right corner.
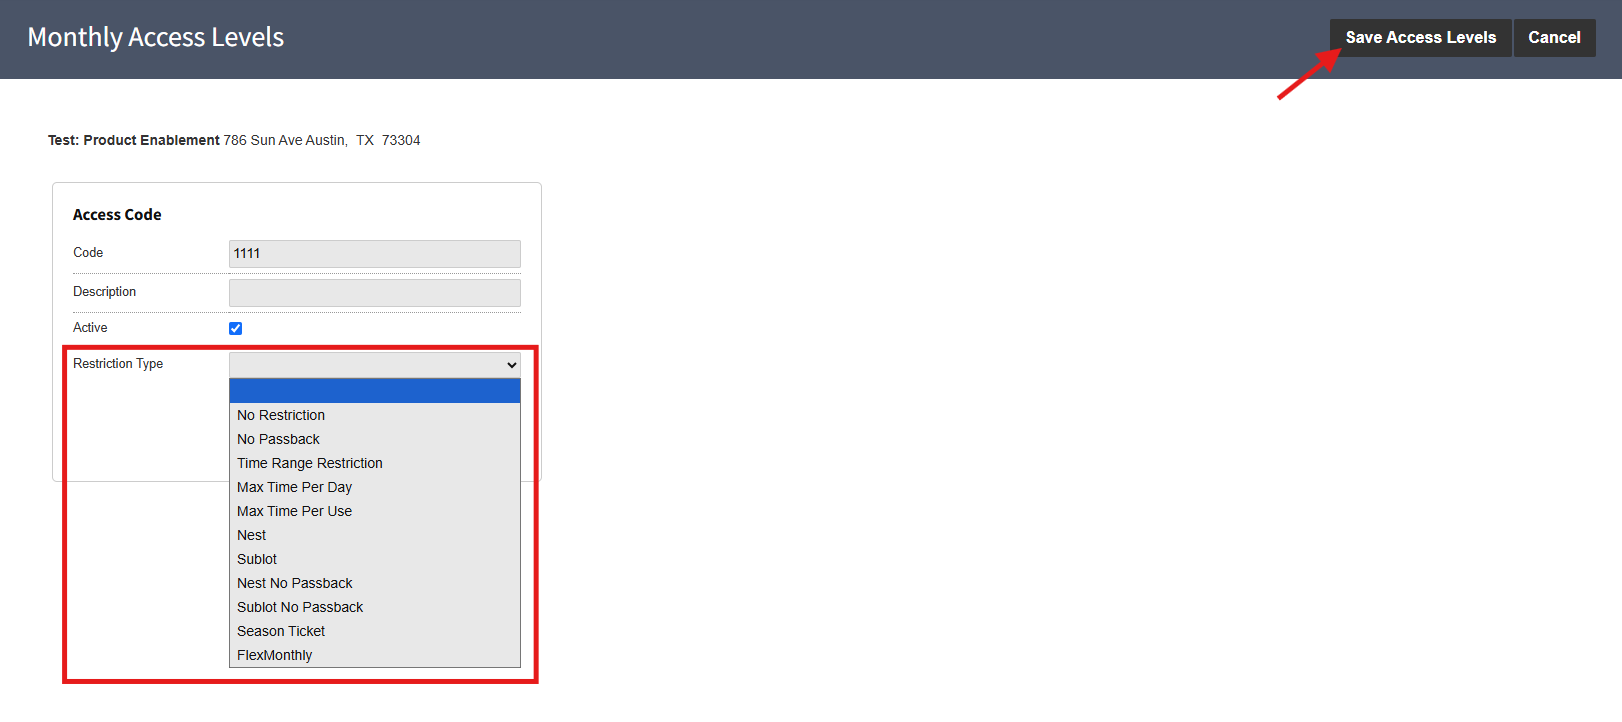
Restriction Types
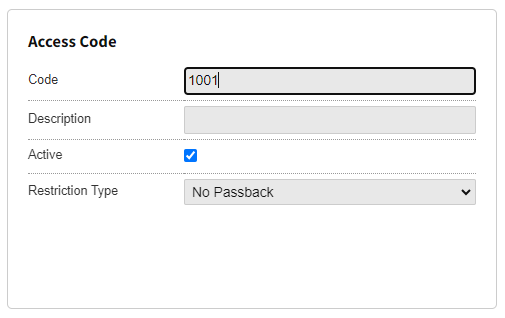
No Passback: Prevents passback for the account.
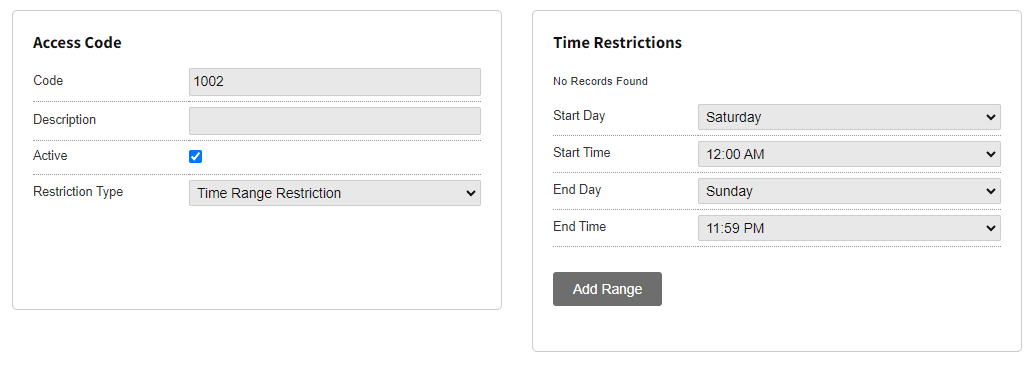
Time Range Restriction: Select a start and end day and time window for the parker to use the facilities. This is the allowance.
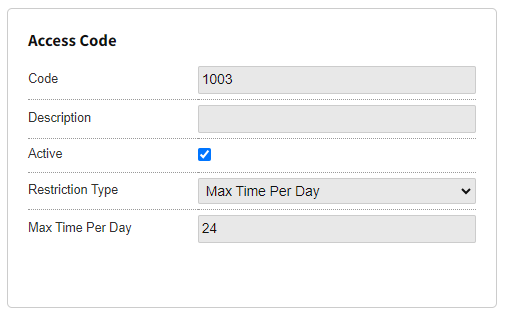
Max Time Per Day: Determines how many hours the driver is allowed to park per day. This can be between 1 and 24 hours.
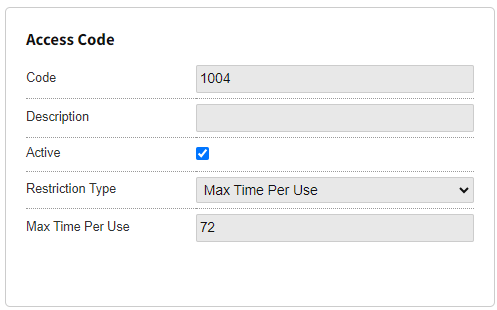
Max Time Per Use: The number of hours the driver is allowed to park per parking session. This field can include more than 24 hours and it’s not cumulative, meaning that after the time set is used, penalties can be implemented.
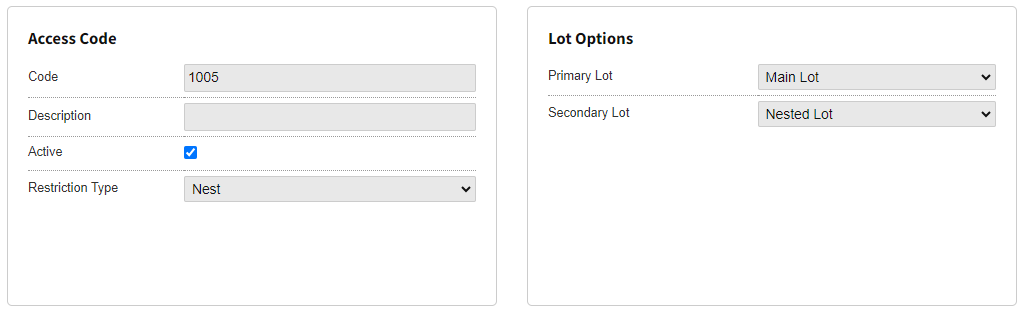
Nest: Allows options for primary or secondary lot restrictions.
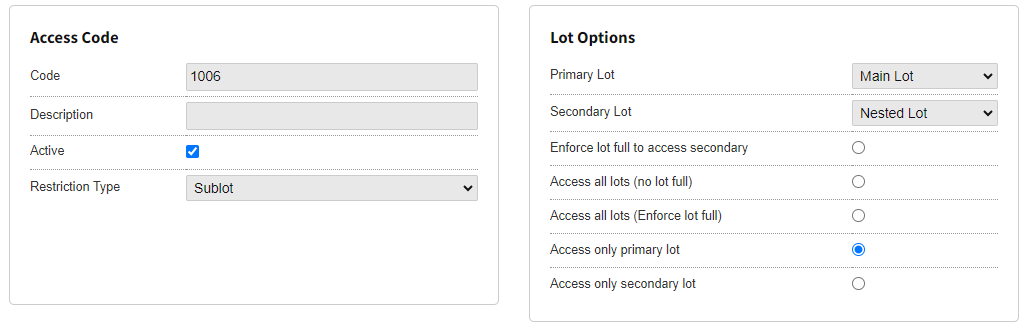
Sublot: Includes primary and secondary lot options, and also enforcement for a full lot, meaning that if the primary lot is full the parker must then use a secondary available lot. This restriction type also allows access to all lots or one particular lot.
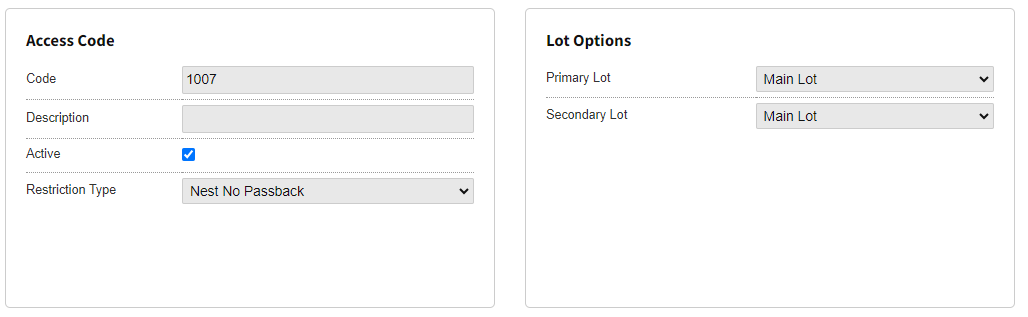
Nest No Passback: Same options as the Nest restriction, including no passback restrictions.
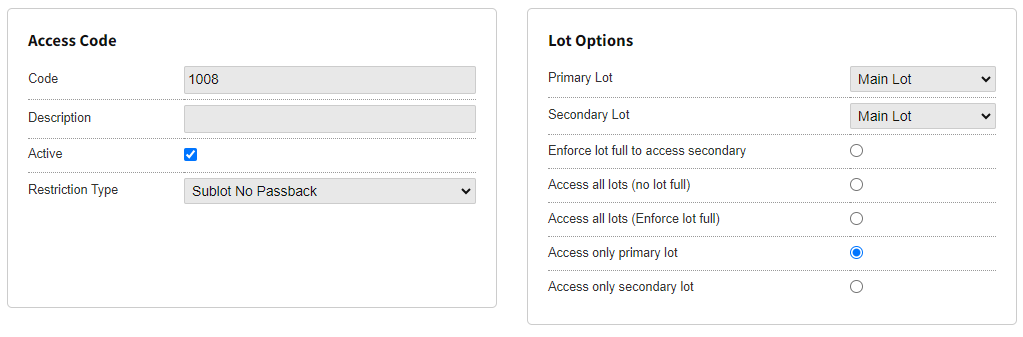
Sublot No Passback: Same options as the Sublot restriction, including no passback restrictions.
Season Ticket: This restriction option allows for calendar-type days and times for future parking, after input of day and time it will be saved and take effect on the selected parameters.
How to Assign Access Levels to a parker
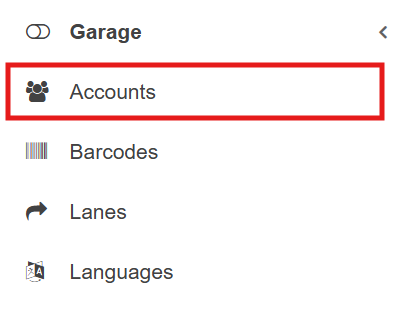
Under Garage Settings for your location, head over to Accounts.
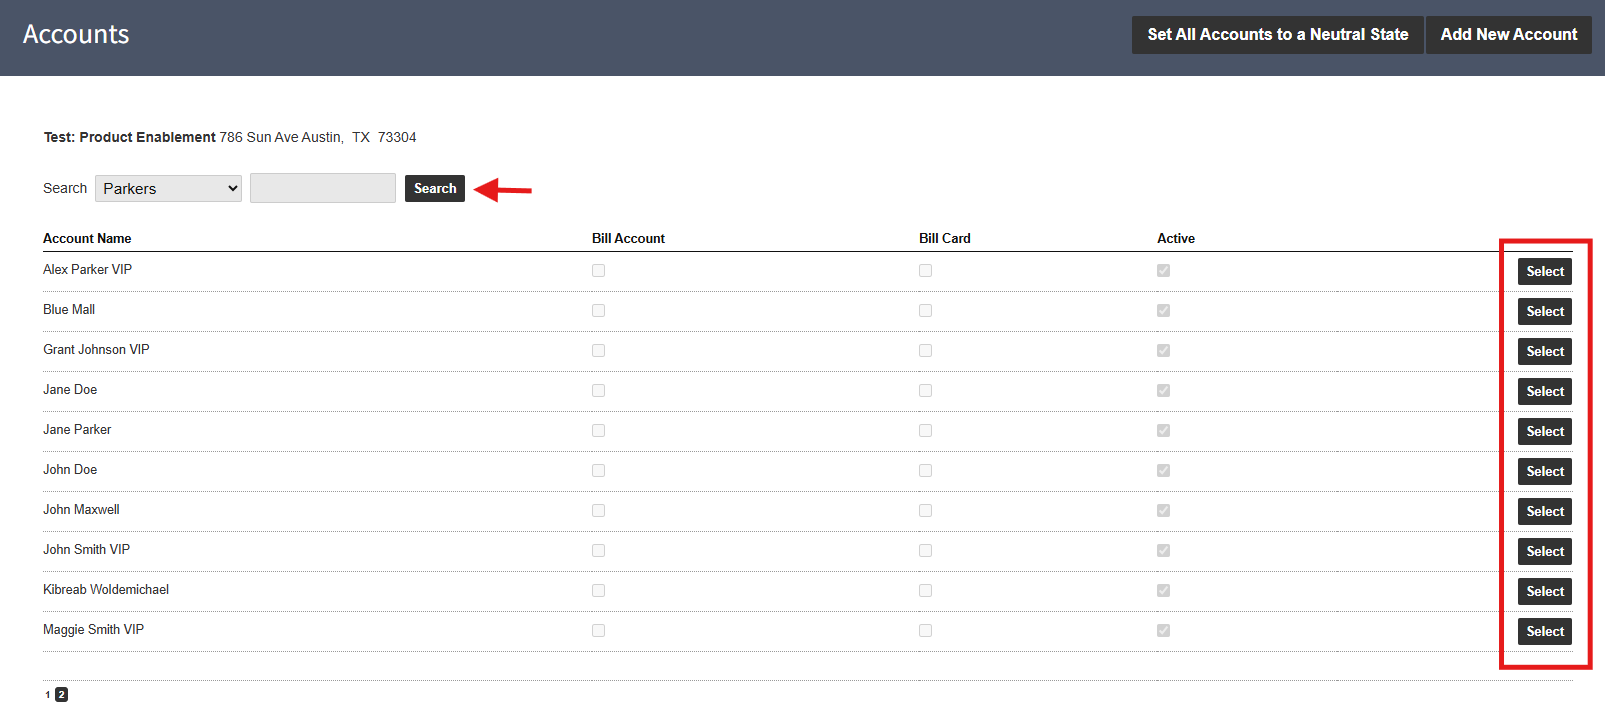
Pick the account from the list, or search for a parker using any valid parameter.
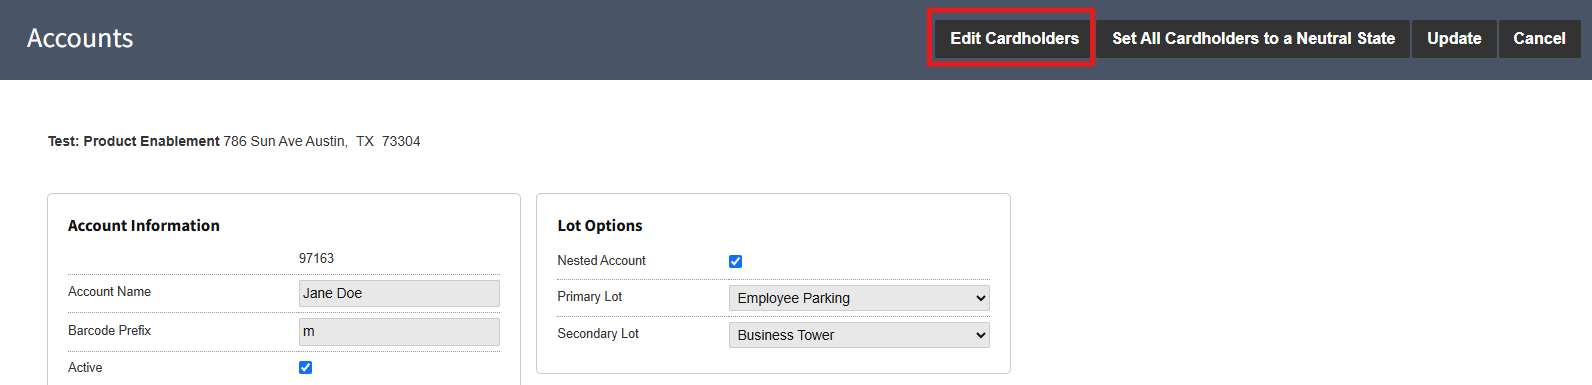
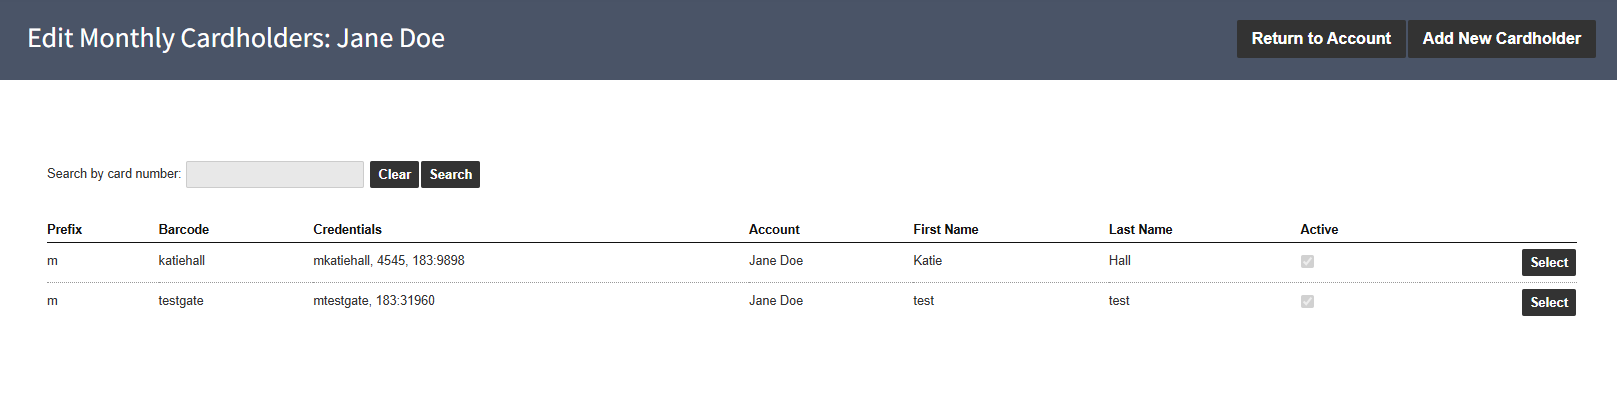
Click Edit Cardholders to see everyone listed under the main account, then pick the cardholder you want to update.
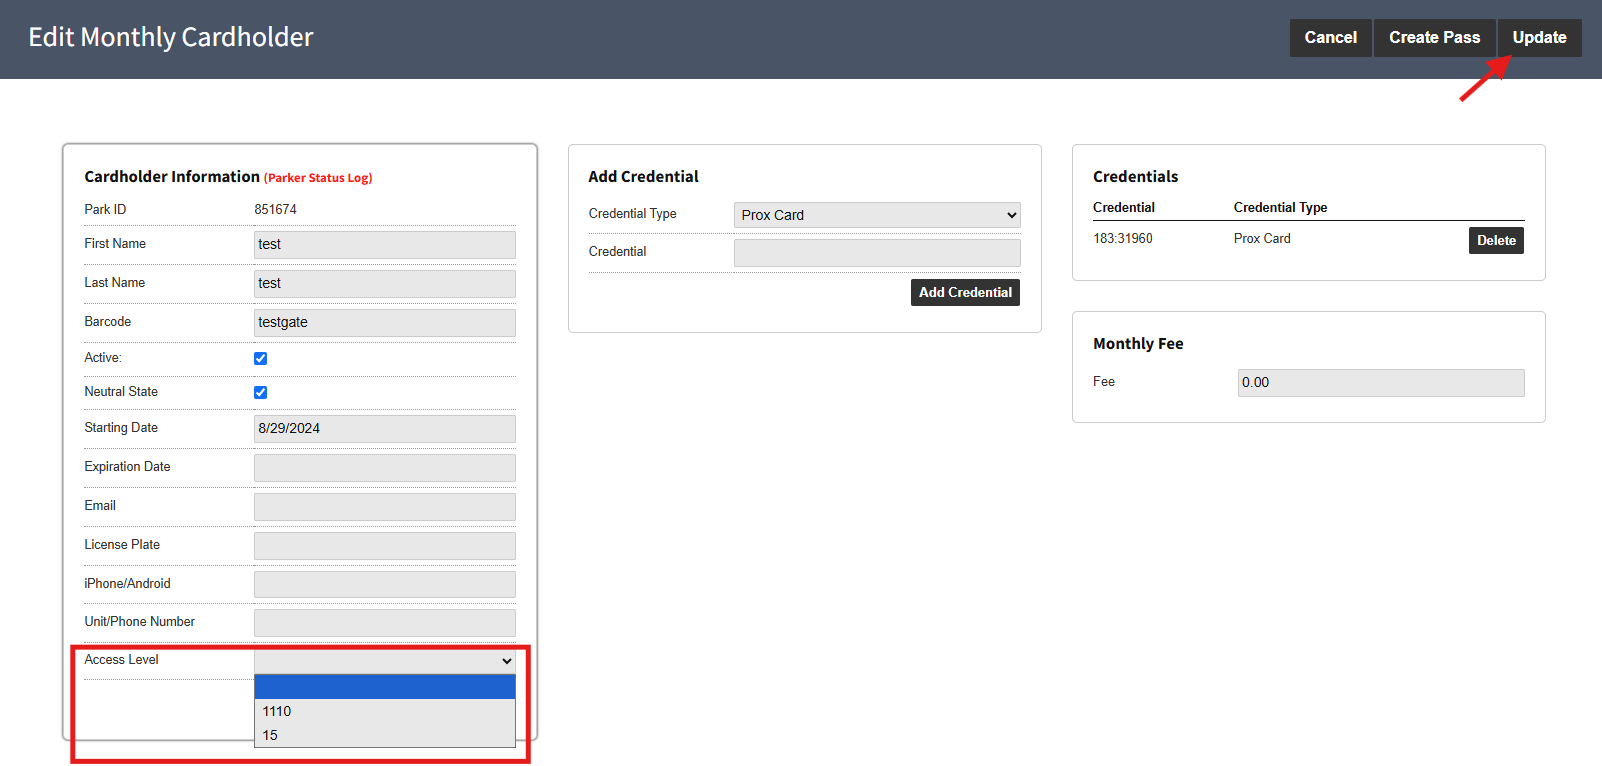
Once created, you'll see your Access Level codes in the Access Level dropdown at the bottom of Cardholder Information. Just pick the right code for the cardholder and hit Update in the top-right corner.
Was this article helpful?
That’s Great!
Thank you for your feedback
Sorry! We couldn't be helpful
Thank you for your feedback
Feedback sent
We appreciate your effort and will try to fix the article